

How do I install a new screwdriver bit in a power screwdriver?
Hey there! As a supplier of Screwdrivers and Bits, I often get asked about how to install a new screwdriver bit in a power screwdriver. It might seem like a simple task, but there are a few things you need to know to do it right. In this blog, I'll walk you through the whole process step by step.
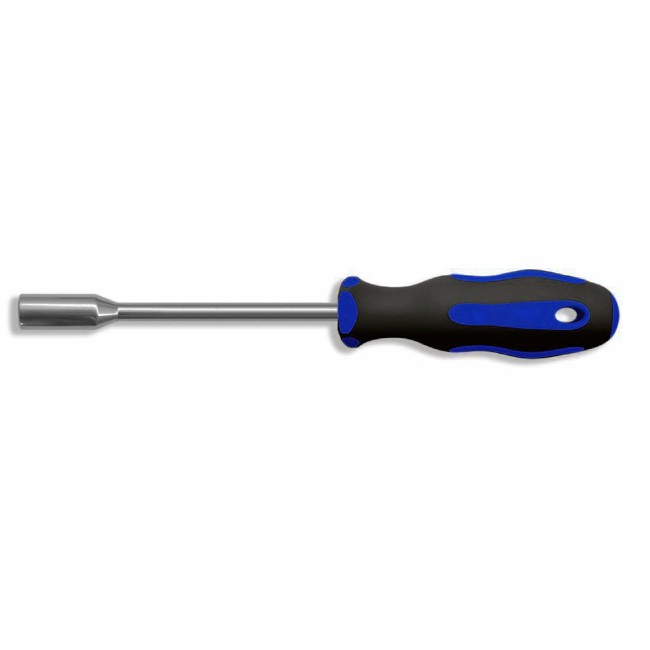
First off, let's talk about why you might need to change the screwdriver bit. There are a bunch of reasons. Maybe the bit you're using is worn out from all the work. Or perhaps you're starting a new project that requires a different type of bit, like a Slot Head Screwdriver for flat - head screws or a Hex Nut Driver for hexagonal nuts.

Before you start the installation process, safety should be your top priority. Make sure your power screwdriver is unplugged if it's a corded one, or the battery is removed if it's cordless. This will prevent any accidental starts that could lead to injuries.
Now, let's get into the actual steps of installing a new bit.
Step 1: Prepare Your Power Screwdriver
The first thing you need to do is find the chuck of your power screwdriver. The chuck is the part at the front of the screwdriver that holds the bit in place. Most modern power screwdrivers have a keyless chuck, which means you don't need a special key to open and close it.
If your screwdriver has a keyless chuck, you can usually open it by simply gripping the chuck and twisting it counter - clockwise. You'll feel it start to loosen up. Keep twisting until the chuck is wide enough to fit the new bit.
Some older models or heavy - duty screwdrivers might have a keyed chuck. In this case, you'll need to use the chuck key that came with your screwdriver. Insert the key into the holes on the chuck and turn it counter - clockwise to open the chuck.
Step 2: Select the Right Bit
As a Screwdrivers and Bits supplier, I know there are tons of different types of bits out there. You need to pick the one that matches the screw or nut you're working with. For example, if you're dealing with a Phillips - head screw, you'll need a Phillips - head bit. If it's a flat - head screw, then a Slot Head Screwdriver bit is what you need.
Make sure the bit is in good condition. Check for any signs of wear, like a dull tip or a bent shaft. A damaged bit won't work as well and could even damage the screw or the surface you're working on.
Step 3: Insert the New Bit
Once you've opened the chuck and selected the right bit, it's time to insert the bit. Take the bit and align it with the center of the chuck. Push the bit into the chuck as far as it will go. Make sure it's straight and centered.
If you're using a keyless chuck, grip the chuck and twist it clockwise to tighten it around the bit. You'll feel it getting tighter as you turn. Keep twisting until the bit is firmly held in place. You can give the bit a little tug to make sure it's secure.
For a keyed chuck, insert the chuck key into the holes again and turn it clockwise to tighten the chuck around the bit. Make sure you tighten it enough so that the bit won't come loose during use, but don't over - tighten it, as this could damage the chuck or the bit.
Step 4: Test the Bit
After you've installed the bit, it's a good idea to do a quick test. If it's a corded screwdriver, plug it in. If it's cordless, insert the battery. Hold the screwdriver firmly and press the trigger gently to see if the bit rotates smoothly.
Check to make sure the bit is spinning straight and that it's not wobbling. If you notice any wobbling, it could mean the bit isn't inserted correctly or the chuck isn't tightened properly. In this case, unplug the screwdriver or remove the battery again and repeat the installation process.
Troubleshooting
Sometimes, things might not go as smoothly as planned. Here are some common issues and how to fix them:
The Bit Won't Fit
If the bit won't fit into the chuck, it could be because the chuck isn't opened wide enough. Try opening it a bit more by twisting it counter - clockwise a little further. Also, make sure you're using the right size bit for your screwdriver. Some screwdrivers are designed to work with specific bit sizes.
The Bit Keeps Coming Loose
If the bit keeps coming loose during use, it probably means the chuck isn't tightened enough. Tighten the chuck a bit more, either by twisting the keyless chuck clockwise or using the chuck key to turn it clockwise for a keyed chuck.
The Bit Is Wobbling
A wobbling bit can be a sign of an unevenly inserted bit or a damaged chuck. Remove the bit and check if it's straight. If it is, try inserting it again, making sure it's centered in the chuck. If the problem persists, your chuck might be damaged, and you might need to get it repaired or replaced.
As a Screwdrivers and Bits supplier, I can offer you a wide range of high - quality bits and screwdrivers to meet all your needs. Whether you're a DIY enthusiast or a professional tradesperson, we've got the right tools for you.
If you're interested in purchasing our products or have any questions about our Screwdrivers and Bits, don't hesitate to get in touch. We're always happy to help you find the best solutions for your projects.
References
- General knowledge from years of experience as a Screwdrivers and Bits supplier.
- User manuals of various power screwdrivers.